There's a persistent myth that improving at art is mysterious. That some people have "an eye for colour" or "a natural sense of composition." The research says otherwise. Colour, composition, and improvement are all learnable systems with specific, documented principles. Understanding them gives you control over your work instead of leaving things to chance.
Colour Is Three Things, Not One
The first mistake most developing artists make with colour is treating it as a single property. It isn't. Colour exists in three independent dimensions, and confusing them is what creates muddy, unclear work.
Hue is the pure colour itself: red, yellow, blue, green. When you look at a colour wheel, you're looking at hues arranged in sequence.
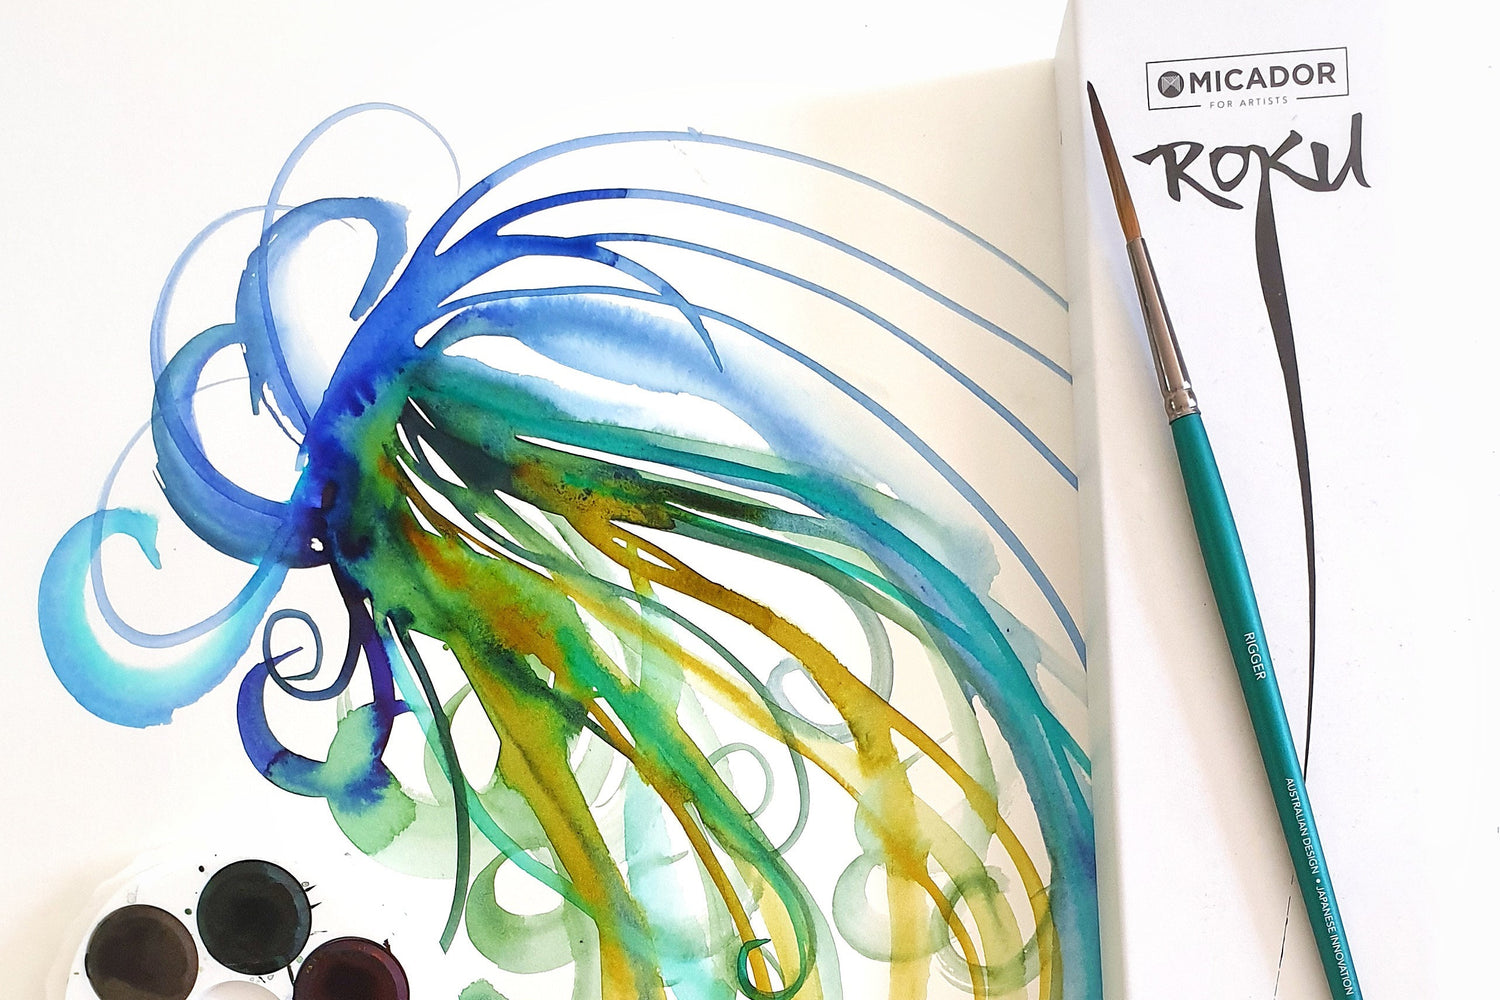
Value is lightness or darkness, independent of hue. A dark red and a light red have the same hue but different values. This is critical: you can have strong colour contrast while using values that are too similar, and the result will look flat. Conversely, dramatic value contrast creates visual punch even with muted colours. Johannes Itten recommended squinting at your work to see the value structure beneath the hue. The resulting tonal pattern tells you whether the composition reads clearly.
Saturation is how pure and intense the colour is. A fully saturated red is vivid. Mix it with its complement and it becomes muted. One of the most important things developing artists learn: you do not need maximum saturation everywhere. Professional paintings often use highly saturated accents surrounded by more muted, desaturated passages. This makes the saturated areas appear even more vibrant by contrast.
Colour Temperature Changes Everything
Every colour has a temperature bias. Reds, oranges, and yellows advance and energise. Blues, greens, and cool purples recede and calm. But temperature is relational, not absolute. Orange is warm, but next to red it reads as cool. Even within a single hue, you can have a warm yellow (biased toward orange) and a cool yellow (biased toward green).
The practical application: if you want a colour to advance, bias it warm. If you want it to recede, bias it cool. Warm colours appear closer to the viewer. Cool colours pull back. This perceptual tendency is consistent enough to use deliberately in every painting you make.
James Gurney's research on colour and light added a crucial observation: light source affects colour temperature perception. Sunlight is cool. Candlelight is warm. The human eye adjusts based on context. This is why learning to observe actual colour in nature, not just theory from a book, matters enormously.

The Seven Contrasts
Itten identified seven types of colour contrast, each creating a different visual effect. You don't need to memorise all seven, but understanding a few transforms your colour work.
Value contrast (light against dark) creates the strongest visual separation and readability. A dark colour appears even darker next to a light one. High-value contrast can carry a composition even when hues are relatively similar.
Saturation contrast (vivid against muted) makes the saturated colour appear to vibrate while the desaturated colour recedes. This is how you create focal points with colour: a small area of vivid colour surrounded by muted passages draws the eye immediately.
Complementary contrast (colours opposite each other on the wheel) creates maximum intensity when placed together. Red and green, yellow and purple, orange and blue. When pure complements touch, they vibrate intensely. Mix a colour with its complement and you create a natural grey-brown, useful for darkening without muddying.
Temperature contrast (warm against cool) creates vibration when you place warm and cool versions of similar hues next to each other, and cohesion when you use only warm or only cool.
Extension contrast is about proportion: how much of each colour you use. A small amount of saturated colour can dominate a composition of larger muted areas. Give more space to recessive colours and use high-contrast colours in smaller amounts.
Composition: The Architecture
Composition is not decoration. It's the architecture of visual communication. A well-composed artwork guides the viewer's eye, creates emotional response, and communicates clearly. A poorly composed artwork confuses the viewer, even when every individual element is beautifully rendered.
Visual weight is the foundation. Every element in your artwork attracts and holds the viewer's eye to a different degree. Size, colour intensity, isolation, positioning, detail, and convergence all create visual weight. A small bright red square can outweigh a large pale grey rectangle. An isolated object carries more weight than the same object surrounded by similar elements.
Asymmetrical balance is more sophisticated than symmetry. Many developing artists default to putting the main subject in the centre and mirroring elements left and right. This is safe but often dull. Asymmetrical balance means arranging elements of different visual weights so the composition feels stable despite the lack of mirror symmetry. Think of a seesaw: a heavier child sitting closer to the pivot balances a lighter child farther away.
The Rule of Thirds is a practical subdivision system. Divide your canvas into thirds both horizontally and vertically. Place points of interest on the intersecting lines, not on the centre. This creates asymmetrical subdivision that feels natural to the eye and invites the viewer to travel through the composition rather than stopping at the centre.
Focal point. Every composition needs one clear area where the viewer's eye lands first. Create it through high contrast, isolation, fine detail, or converging lines. If multiple areas compete equally for attention, the composition fails.
Negative space is the area around and between objects. Beginners neglect it, filling every surface with detail. Professional artists use negative space as an active tool: it gives the eye rest, defines shape through boundaries, creates depth, and directs attention. Some of the most powerful compositions are sparse, with large areas of simple negative space. Resist the urge to fill.
Leading lines guide the viewer through the composition. Roads, rivers, perspective lines, edges, even the direction a figure is looking, all create paths the eye follows. Use them to direct attention toward your focal point.
How to Actually Improve
You've probably heard the "10,000-hour rule." It's wrong, or at least incomplete. Psychologist K. Anders Ericsson spent 30 years studying expertise in music, chess, sports, and other domains. He found that time alone does not create expertise. The type of practice determines whether you improve or stagnate.
You can paint for 10,000 hours doing what you already know and never significantly improve. Or you can practise deliberately for 1,000 hours and transform your skills. The difference is structure, feedback, and discomfort.
Deliberate practice is specific, goal-driven practice at the edge of your current ability, with immediate feedback and constant adjustment. It has four elements.
First, specific narrow goals. You don't practise "painting" broadly. You practise one specific skill: mixing consistent skin tones, or creating believable shadows, or simplifying complex compositions into readable silhouettes. The goal must be narrow enough that you can focus intently on it for 45 to 90 minutes.
Second, working at the edge of your ability. If you practise within your comfort zone, repeating what you already know, your neural systems have no stimulus to change. The sweet spot is just beyond your current reliability: you can do the task sometimes, but not consistently.
Third, immediate specific feedback. Without it, you repeat mistakes without noticing. Compare your work to a reference. Get critique from a mentor or experienced peer. Paint the same subject twice, weeks apart, and compare. The feedback must be specific ("your value structure is confusing the focal point") not vague ("needs work").
Fourth, mental representation and adjustment. Before you practise, you need a clear internal model of what success looks like. During practice, you compare your work against that model, adjust, and check again. This loop, intention, action, comparison, adjustment, is what builds expertise.
The difference in practice: Naive practice means painting a landscape, finishing, feeling satisfied, and moving to the next one. After 15 landscapes, improvement slows because you're repeating the same process. Deliberate practice means painting a landscape focused specifically on atmospheric perspective, comparing your distant hills to reference photographs, noticing they're not cool enough, painting again with adjusted colour temperature, pushing further each iteration. The deliberate version takes longer per piece. But you improve three to five times faster because every hour is high-intensity learning.
Practical Exercises
Colour value scale. Take a single hue. Create a scale from light (nearly white) to dark (nearly black) in at least seven steps. Notice how much white or black it takes to shift value significantly. This teaches you to separate value from hue in your perception.
Saturation ladder. Take a saturated colour. In one row, move from full saturation toward its complement (which desaturates it). In another row, move toward grey. Notice which creates a more natural-looking muted colour.
Composition thumbnail. Before starting a painting, make five small (5cm) thumbnail sketches of different compositions for the same subject. Use only three values (light, mid, dark). Choose the one that reads most clearly at arm's length. This five-minute investment saves hours of frustration.
Edge practice. Paint three studies of the same object. In the first, use only hard edges. In the second, only soft edges. In the third, use hard edges at the focal point and soft edges everywhere else. Compare the visual effect.
What Separates Developing Artists from Skilled Ones
It isn't talent. The research is emphatic on this. What separates them is accumulated deliberate practice informed by understanding of colour, composition, and visual principles. The developing artist who learns these systems and applies them through focused, uncomfortable practice will improve faster than someone with "natural ability" who never studies the fundamentals.
The fundamentals aren't complicated. They're specific. Hue, value, and saturation are three different things. Warm colours advance, cool recede. Asymmetrical balance beats symmetry. One focal point, not three. Negative space is active. Practice at the edge, not in the comfort zone. Get specific feedback, not praise.
Apply these consistently, and the work changes.
Ask Klumpf about colour theory, composition basics, or building a practice that sticks. Micador's in-house art expert. Bottom-right of every page.
Next in this series: "Inside Your Art Materials: The Science of Paint, Paper and Brushes"
© 2026 Micador Group. All rights reserved. This article is original editorial content produced by Micador. You're welcome to link to it or quote short passages with attribution. Reproducing the article in full, or republishing it on another platform, requires written permission — amazing@micador.com.au.


Leave a comment
All comments are moderated before being published.
This site is protected by hCaptcha and the hCaptcha Privacy Policy and Terms of Service apply.