You don't need to be an artist to teach art well. You need systems.
That might sound unromantic, but it's the truth that every teacher who's tried to run a painting session with 25 kids has already discovered. The creative part is wonderful. The logistics part is what makes it possible or impossible.
This post covers the practical side: how to set up your classroom, which materials work at scale, how to structure a lesson that doesn't eat your lunch break, and how to assess creative work without killing the creativity. It also maps to the Australian curriculum, because if you're going to invest the time, it helps to know exactly which learning outcomes you're hitting.
Why Art Isn't Extra
Before the logistics, the evidence. Art in the classroom isn't a nice-to-have. It's where children process what they're learning across all subjects. Visual arts reinforce literacy, numeracy, and science in ways worksheets don't. Art builds executive function: planning, organising, problem-solving, and completing multi-step tasks all happen naturally when a child is working on a project. It builds resilience, because in art, mistakes become discoveries. And it's one of the few subjects where standing, reaching, and large-motor movement are part of the learning.
The research from Winner, Goldstein, and Vincent-Lancrin at the OECD confirms that art education correlates with improved outcomes across literacy, numeracy, and social-emotional learning when integrated with other subjects. This isn't fluff. It's documented.
How It Maps to the Curriculum
The Australian curriculum frameworks, from EYLF V2.0 through to the Victorian Curriculum F to 10, all emphasise creative expression, learning through play, and developing confidence. Art activities directly support every learning outcome across birth to Year 10.
The Early Years Learning Framework (EYLF V2.0), which came into effect in February 2024, defines five learning outcomes. Art materials and creative activities support all five: identity (making choices about colours and materials, seeing your own work displayed), connection (creating art about family and community), wellbeing (sensory art experiences, calming activities), confidence (experimenting without fear of failure, completing multi-step projects), and communication (naming colours, telling stories through drawing, expressing feelings when words aren't available).
The Victorian Early Years Learning and Development Framework (VEYLDF) extends the EYLF to include children transitioning to school, ages 5 to 8. Same five outcomes, with progressions showing how learning develops through the early school years.
For primary school, the Victorian Curriculum and ACARA frameworks include Visual Arts as a subject area with specific achievement standards. But art also integrates naturally with literacy (visual storytelling, artist statements), numeracy (pattern, symmetry, measurement, scale), science (colour mixing, material properties, observation), and humanities (cultural art forms, historical art, geography through landscape).
The point: every art lesson you teach is hitting curriculum outcomes. Multiple ones, usually. You're not taking time away from "real" subjects. You're reinforcing them.
Setting Up Your Classroom
Two models work, depending on class size and year level.
Material stations work best for mixed year levels and large classes. Set up three to five stations around the room, each with one type of material: markers in one caddy, paints and brushes at another, paper and scissors and glue at a third. Advantages: less clutter at individual desks, easier to supervise, less setup time overall, and natural transition points in lessons. Disadvantage: queuing can cause behaviour issues if not managed. Better for Grades 2 to 6.
Individual distribution works for younger or smaller classes. Each child gets a basket or pack at their desk with the materials they'll use. Faster to start, no queuing, fewer transitions. But more clutter, easier for materials to go missing, and takes longer to prepare.
The real-world approach: use stations for most lessons, individual distribution for short activities. Mix and match.
Water Management
Water causes more chaos than any other variable. Plan for it.
The rotating station approach works best: set up one central water station at a table, with one rotating child as "water monitor" who refills cups for their table. Use short, wide plastic cups that won't tip easily. Paper towels at the station.
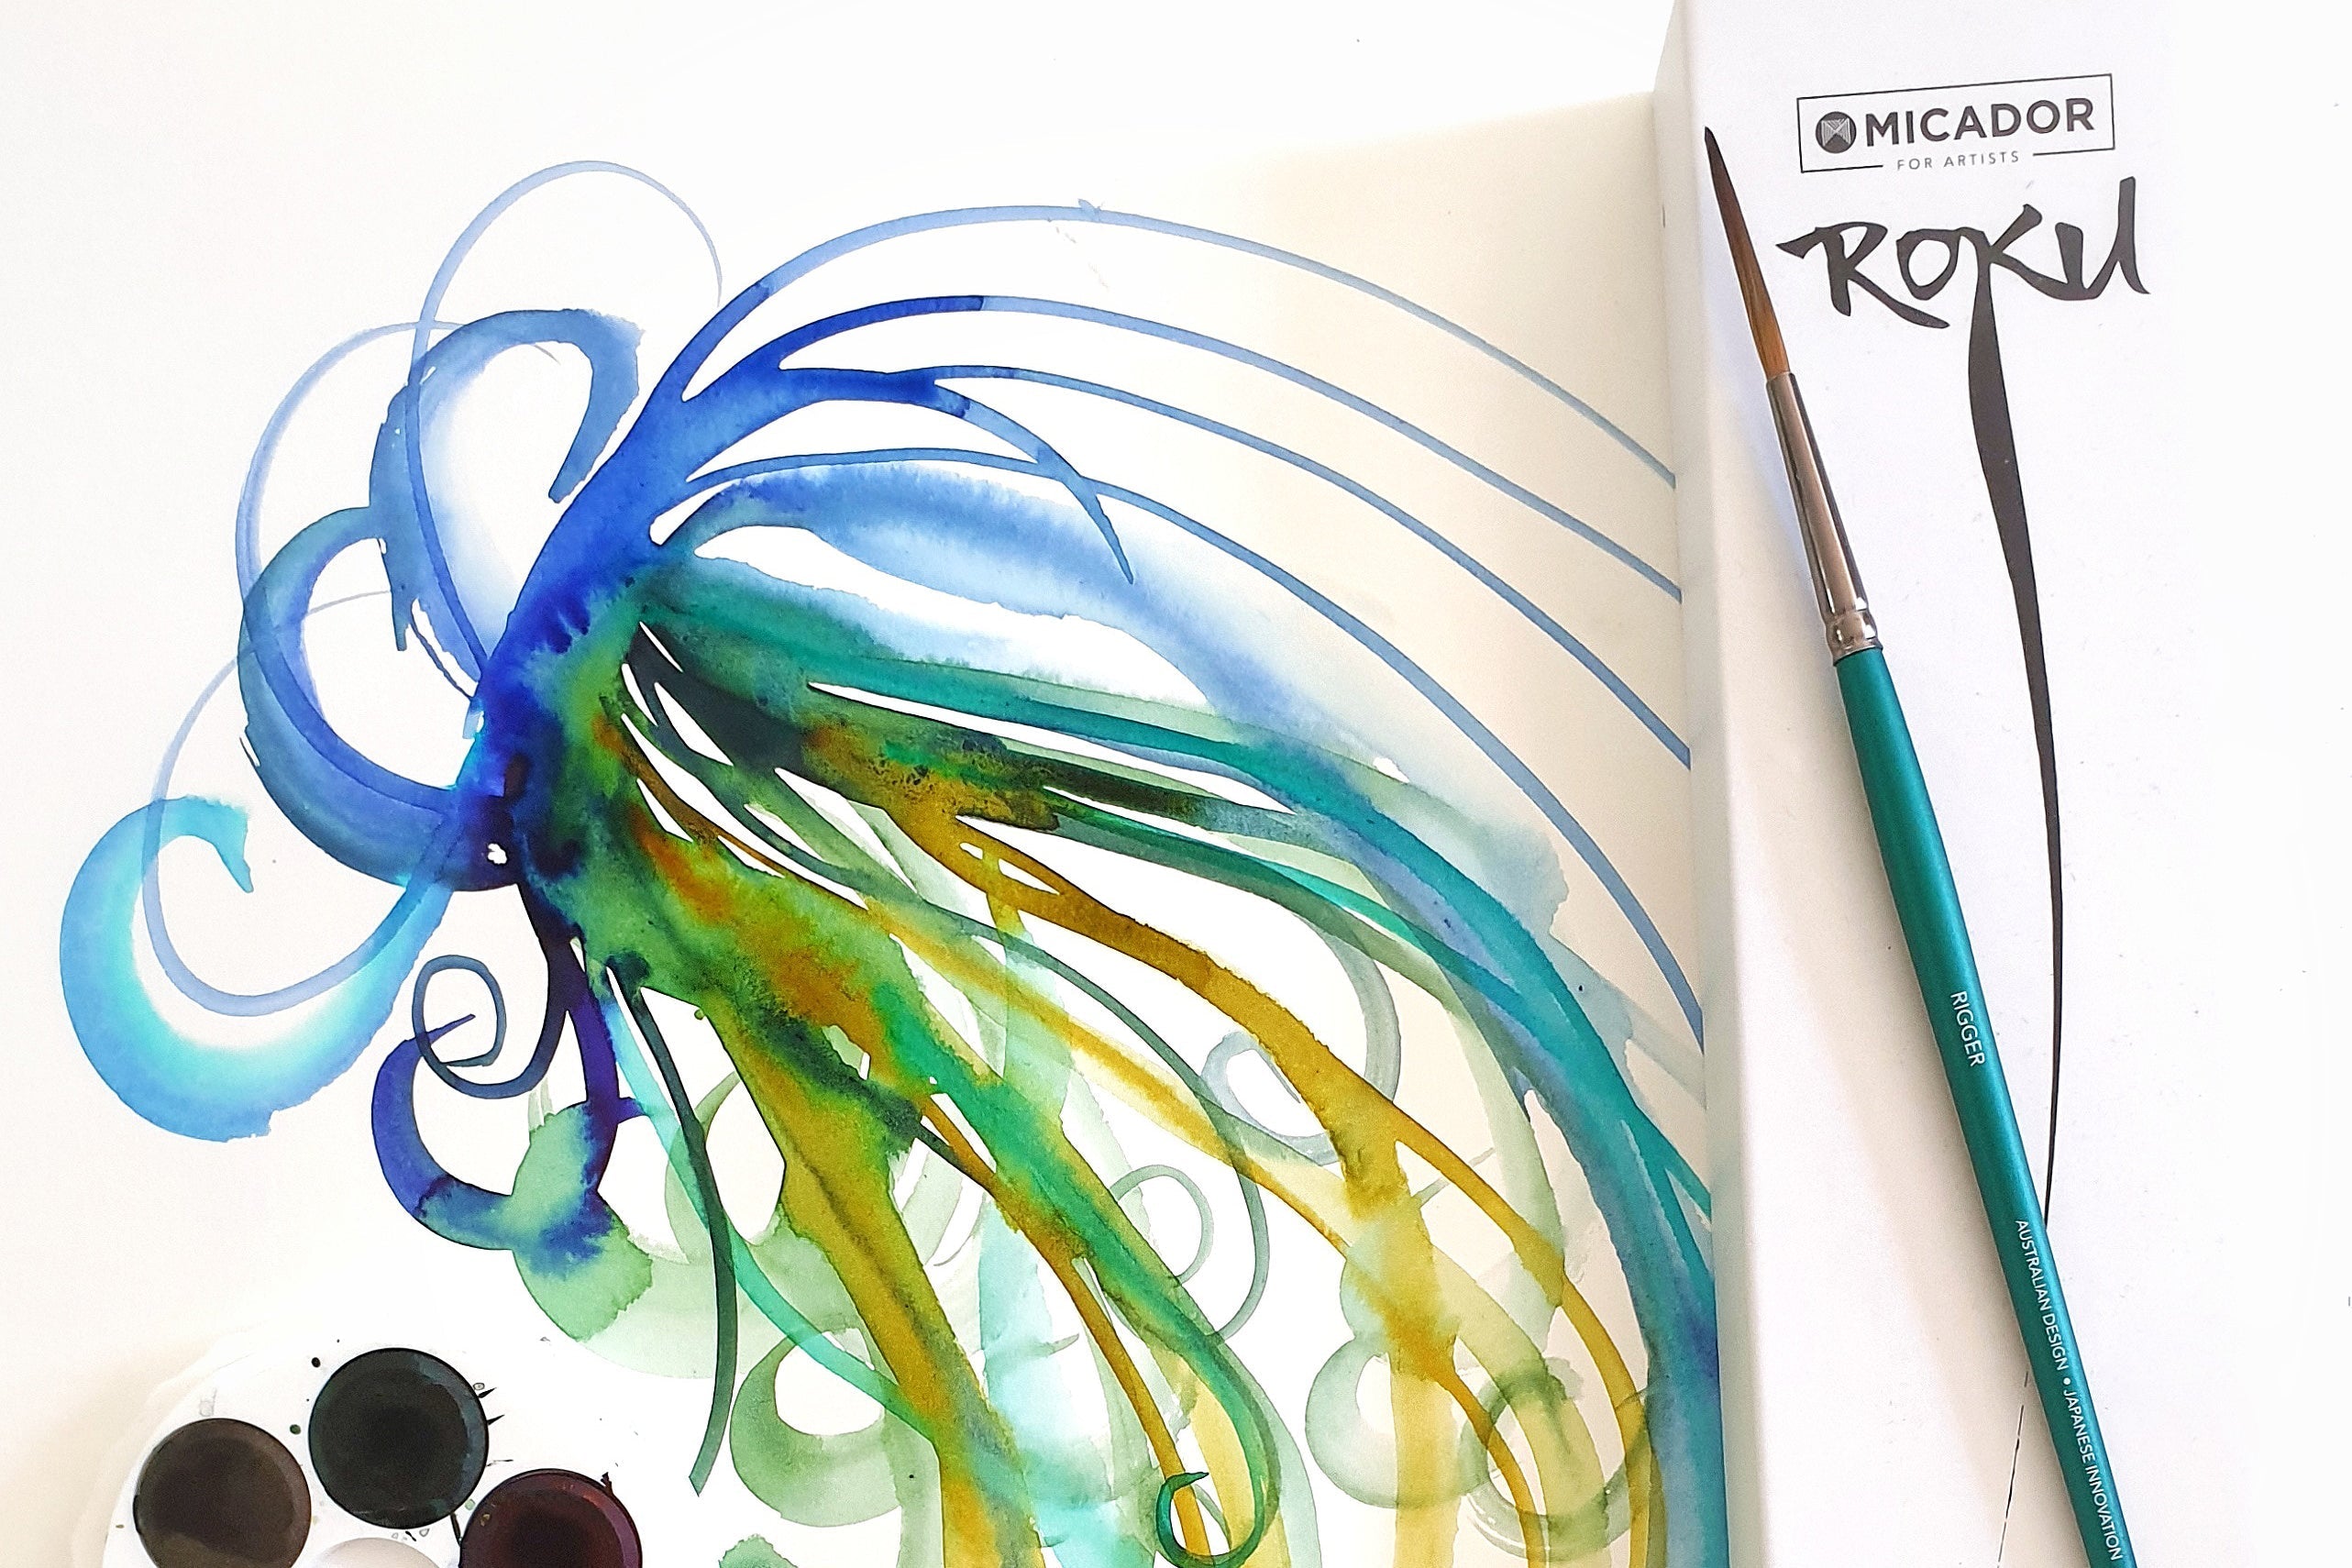
For watercolours specifically, the spray bottle approach is excellent. Instead of water cups, provide spray bottles. Kids lightly spray their palette instead of dunking brushes. Reduces accidents, reduces waste, reduces mess.
And teach the blot protocol from day one: brush drips on a paper towel before it touches paper. This reduces water transfer to artworks and desks, and it teaches material control.
Materials That Work at Scale
Some materials are built for classrooms. Others create chaos. Here's the honest breakdown.
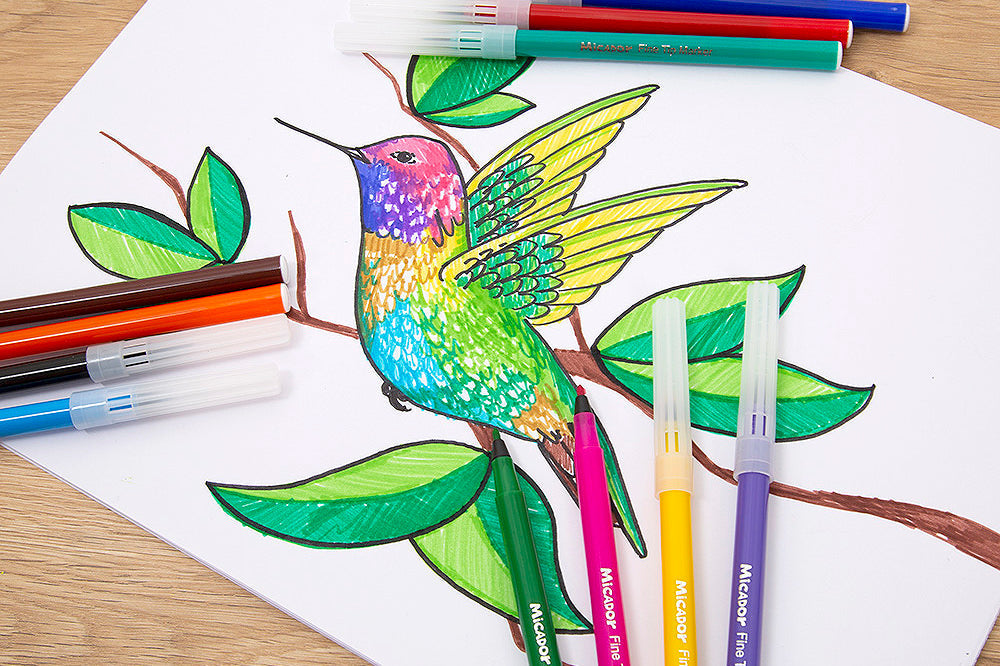
Markers and crayons are excellent for large groups. Washable markers are essential (water-soluble, not permanent). One box per table. Kids self-regulate around sharing. No water management. Cleanup is cap the pen, wipe the table. Crayons are even simpler: cheap, reliable, durable, minimal cleanup. Budget for 30 to 50 per cent loss per year to breakage and disappearance.
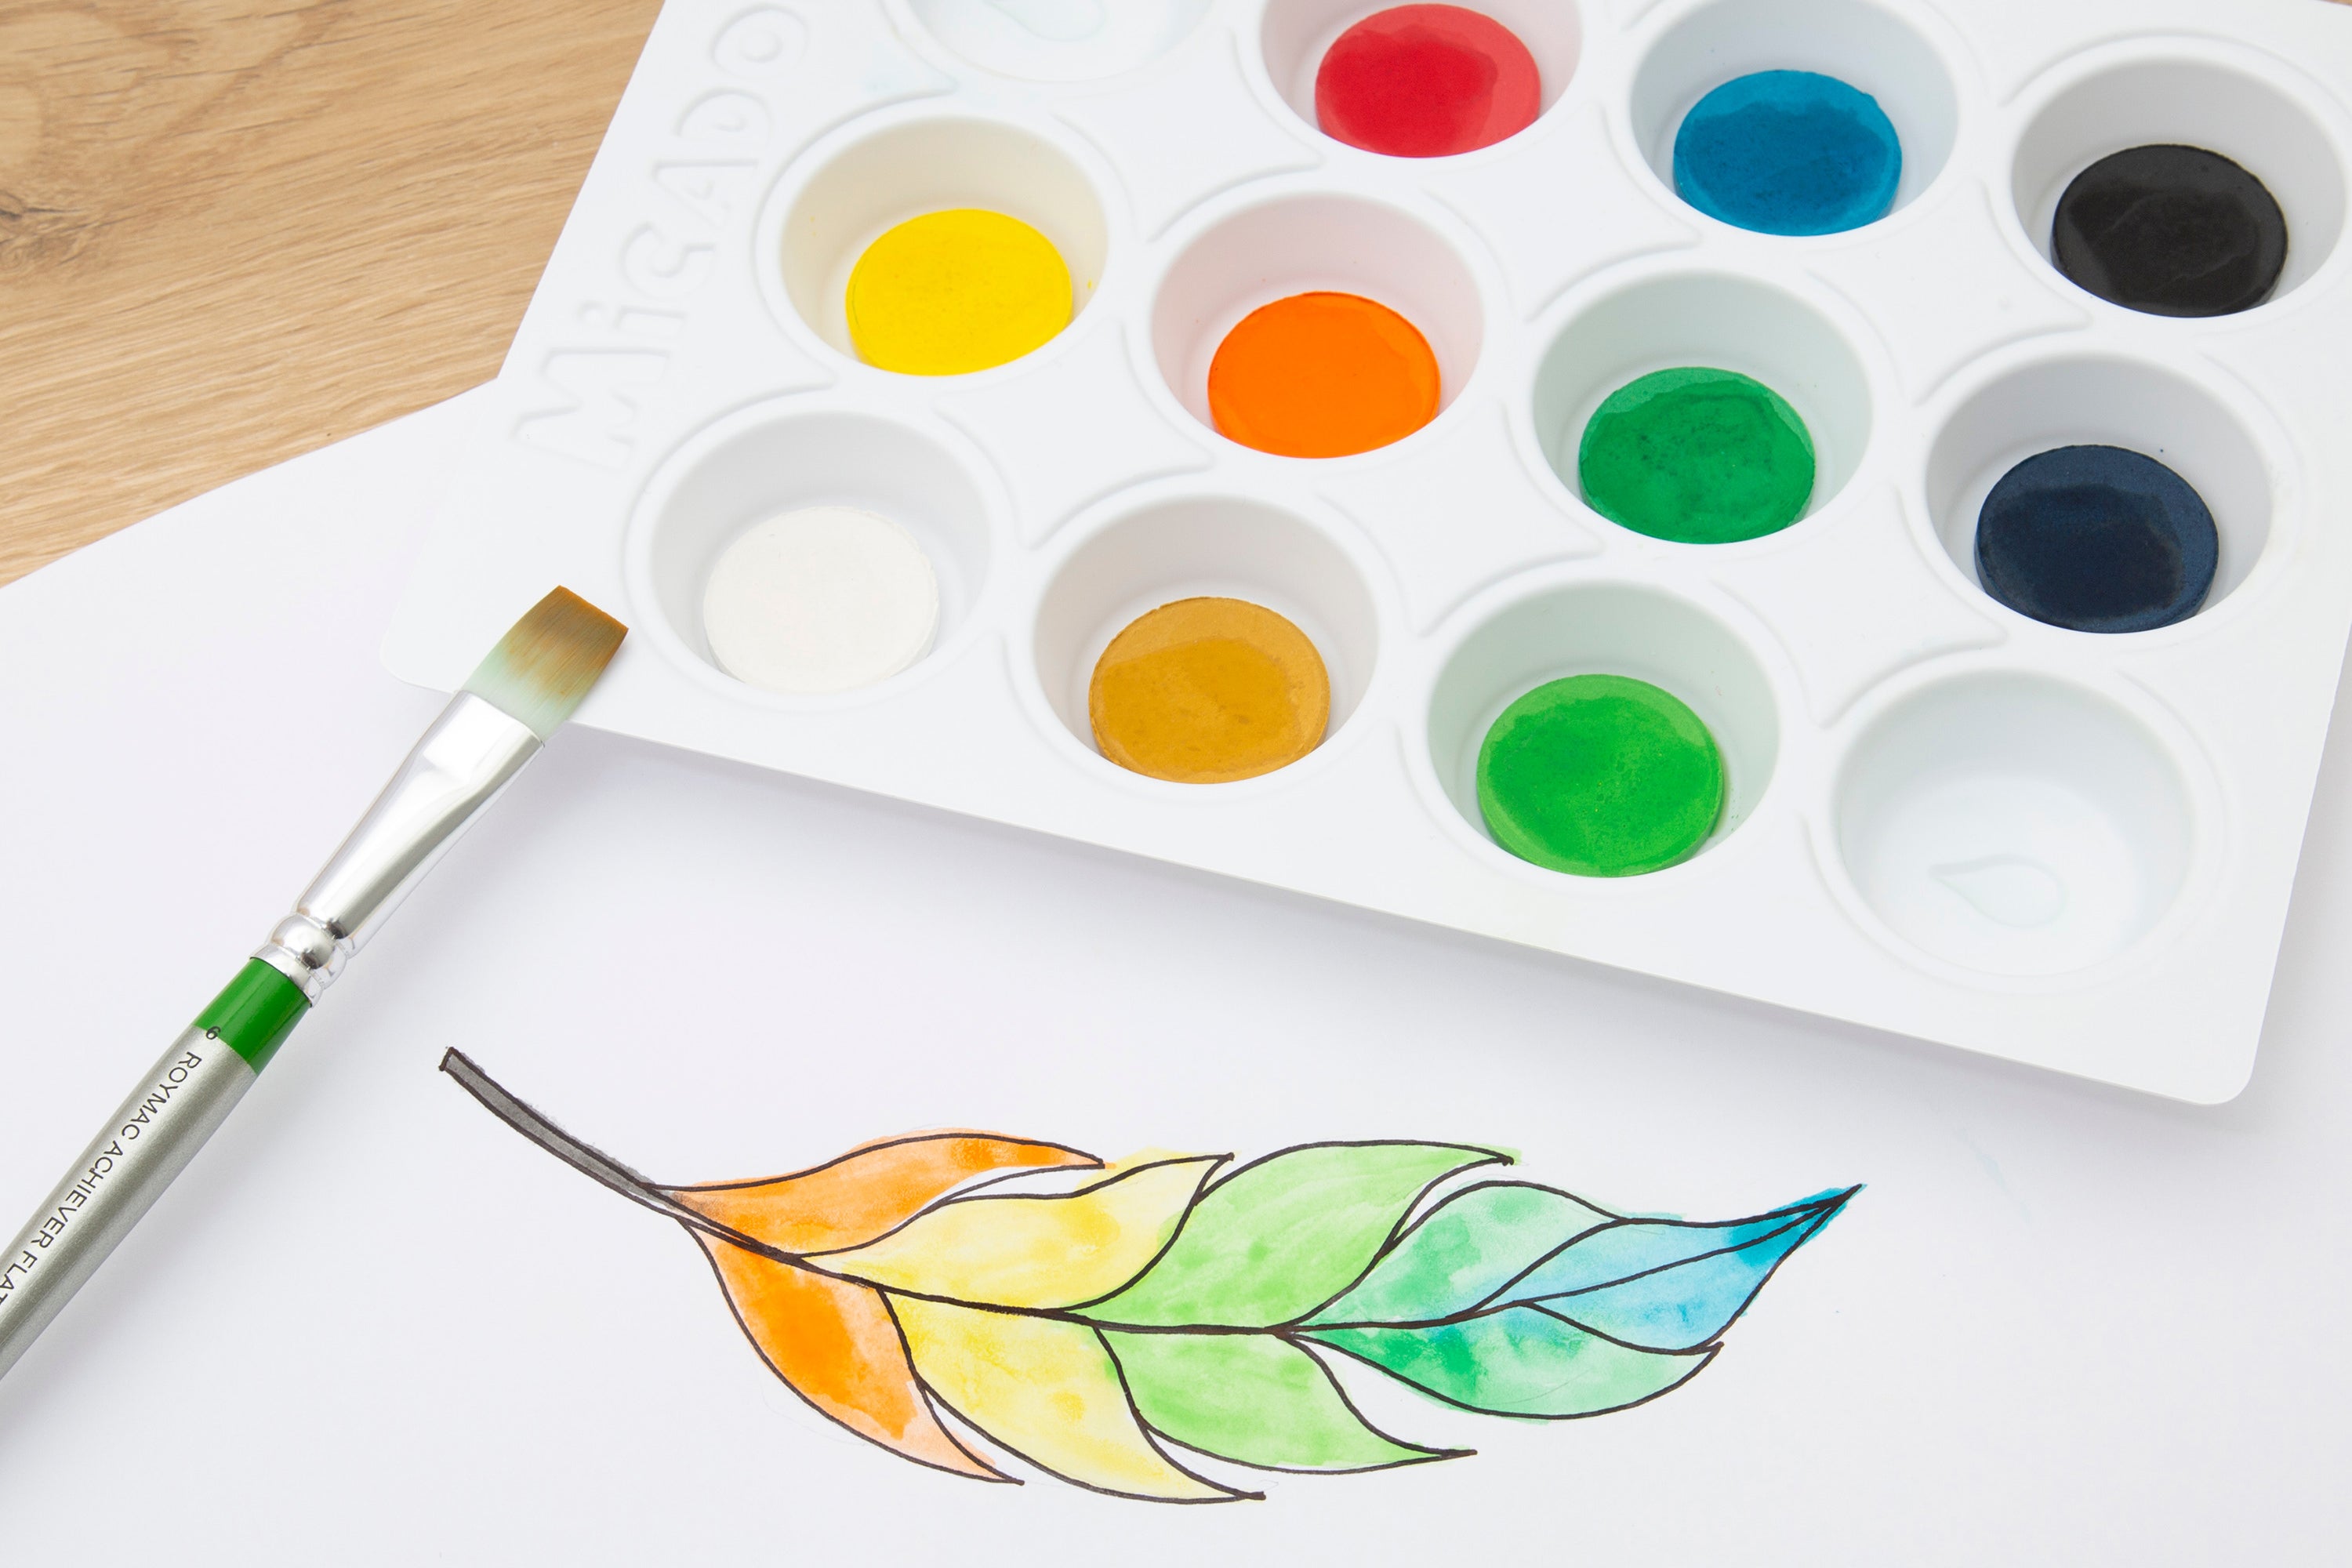
Watercolour paint is good with careful water management. Student-grade sets work fine. One small set per table group (three to four kids sharing one palette). Works for Grades 2 and up. Budget 30 to 45 minutes per lesson including setup and cleanup.
Acrylic paint is problematic for large groups. It dries permanently if not cleaned immediately. More water, more cleanup. Better for small groups or Grades 5 and up. If you use acrylics, limit to 12 to 15 kids per session.
Oil pastels are good for Grades 3 to 6. Minimal mess (dry medium), blending is fun and engaging. Kids will push too hard and break them. That's normal.
Clay is excellent for all ages. Durable, low mess, develops fine motor skills. Air-dry clay or polymer clay for ages 5 and up. Play clay for younger children who are still mouthing materials.
What not to use with large groups: liquid acrylic paint (too runny), liquid glue (kids squeeze entire bottles), anything with small loose parts like pom-poms or beads (the cleanup time isn't worth it).

The Lesson Structure That Works
The 10-5-15-5 model fits most art lessons with 20 to 30 minutes available.
Ten minutes for opening and introduction. Gather the kids. Show the artwork or technique. Demonstrate the activity once, clearly, with the actual materials they'll use. Set expectations: "Markers stay on paper. Paint is at the table. We'll clean up together."
Five minutes for transition. Kids move to seats or stations. Materials are already set out (you did this before the lesson). Brief wait for the signal to start prevents chaos.
Fifteen minutes for active art-making. Kids work while you circulate. Don't hover over one child. Keep moving. Give feedback that's process-focused ("I like how you mixed those colours") not outcome-focused ("That's great!"). If a child is stuck, ask "What are you trying?" not "Let me fix it."
Five minutes for cleanup and reflection. First three minutes: stop, step back, materials away, table wiped, hands washed. Last two minutes: gather and reflect. "What colour did you like best?" "What did you try?" "Who wants to show their work?" Volunteer only.
Total: 35 minutes for a complete lesson including setup. Predictable structure reduces behaviour issues. Demonstration is visual. Active making time is protected. Cleanup is expected and quick.
Differentiation Without Complexity
Three approaches that work in mixed-ability classes.
The constraint-based approach: instead of "make a drawing of anything," give constraints. "Draw an animal using only circles." "Paint using only cool colours." "Design a creature that's part fish, part bird." Constraints make the task concrete, reducing paralysis for kids who say "I don't know what to do." Advanced kids still have creative freedom within the constraint.
The choice-based approach: offer real choices. "You can draw with pencil first then colour, or colour directly." "You can paint with a brush or a sponge." "Make a portrait of a person or an animal or a plant." Choice increases ownership and motivation.
The layered approach: build complexity across the activity. Layer 1: "Make marks with different colours." Layer 2: "Find three marks you like and connect them with lines." Layer 3: "Turn one of your mark groups into something recognisable." Fast finishers go deeper. Slower kids stop at any layer with valid work.
Assessment That Doesn't Kill Creativity
Process-focused questions to ask as you circulate: "What material did you choose first and why?" "What did you try when that didn't work?" "How did you decide on your colours?" "What's one part you're happy with?"
Observation checklist (tick or note during the lesson): Tried multiple materials? Made intentional choices about colour or shape? Responded to feedback by trying again? Cleaned up and followed expectations?
You're assessing engagement, decision-making, and resilience, not artistic skill or neatness. That's what matters for lifelong creativity.
What not to do: grade artwork on "neatness" or "realness." Rank artworks best to worst (kills confidence). Compare artwork to "what it should look like."
Display That Builds Everyone Up
Display all artwork, not just "the best." Rotating a selection of only the strongest work sends a clear message about who matters. Display everything equally.
Rotate displays every two to three weeks. Old work goes home. Include a label from the child: "I liked..." or "I tried..." Display at kid height so they can actually see their own work.
This matters more than it might seem. Every child seeing their work displayed equally sends the message: your creative thinking matters. That's what builds lifelong artists.
The Difficult Moments
Three situations every teacher encounters.
The child who says "I'm done" after three minutes. Usually means they're uncertain and retreating, not that they've genuinely finished. Ask "What else could you try?" not "That's not done." Point to an extension activity. Offer a legitimate role: "Can you be the water monitor?"
The child who won't start. The task feels too open, too risky, or too hard. Don't push. Ask concrete questions that narrow choices: "Will you use markers or crayons?" Start tiny: "Make one mark with any colour." Sometimes sitting quietly next to them and making a mark yourself is enough. They watch, then they join.
The child who says "I can't draw." This is the critical moment covered earlier in this series. Validate the frustration ("Drawing is hard. It takes practice"). Avoid false reassurance ("It's beautiful!" when they can see it isn't). Redirect to process ("You've drawn the arms. Let's try the hands"). And above all, teach the word "yet."
Making Art at Home Work Too
Parents reading this: the logistics at home are simpler than you think. Protect your surface (a plastic tablecloth from the dollar store), use washable materials for young kids (non-negotiable), store where your child can see and reach (a shoebox works), and match activity time to available time. Crayons need 3 minutes setup and 3 minutes cleanup. Watercolours need about 8 minutes on each end. Acrylics need 10 minutes cleanup because they set permanently if left.
The most important thing isn't the setup. It's creating regular, low-pressure time for your child to mess around with materials without judgment. Consistent beats frequent. Three 20-minute sessions a week builds more than one frantic hour on Saturday.
Safety: What to Actually Look For
What matters most is matching the range to the age group. Micador's children's ranges are designed from the formulation up for the way kids that age use art supplies — early stART for ages 1 to 4 (the toddler-to-young-preschooler stage, including the mouthing years), Micador jR. for ages 3 to 8 (school-age mess, totally washable), and Colour Wash Repeat for reusable kids creative play. The two ranges overlap at ages 3 to 4 — either suits a kid in that band. Older kids and adults move into Micador core, Micador for Artists, Outside Lines, or Timeless depending on use case.
For under-threes, choking is the priority risk. The rule of thumb: anything that fits through a toilet roll tube (roughly 31 mm in diameter) is a choking hazard. Stay inside early stART for this age group — it's built so this check passes by design (chunky everything, no detachable small parts).
The important thing to know: the term "non-toxic" is not regulated. Any manufacturer can write it on a product. What you actually want is products from ranges built specifically for the age group on the label — and anything labelled "Keep Out of Reach of Children", "Not for Use by Children", or carrying any caution-label warning should never be given to under-eights, regardless of brand.
The Bottom Line
Teaching art well doesn't require artistic talent. It requires:
Systems that work: materials ready, routines established, time protected.
Feedback that matters: describe what you see, ask what they'd change, focus on process.
Display that includes everyone: not the best work, all the work.
And the willingness to let children make a mess, because the mess is where the learning is.
The art is doing exactly what it needs to do.
Ask Klumpf about art in Australian classrooms, the Visual Arts strand, or planning a unit that's ACARA-aligned. Micador's in-house art expert. Bottom-right of every page.
This concludes the Parents & Educators series. Next: "Coming Back to Art as an Adult: Where to Start"
© 2026 Micador Group. All rights reserved. This article is original editorial content produced by Micador. You're welcome to link to it or quote short passages with attribution. Reproducing the article in full, or republishing it on another platform, requires written permission — amazing@micador.com.au.
Leave a comment
All comments are moderated before being published.
This site is protected by hCaptcha and the hCaptcha Privacy Policy and Terms of Service apply.